|
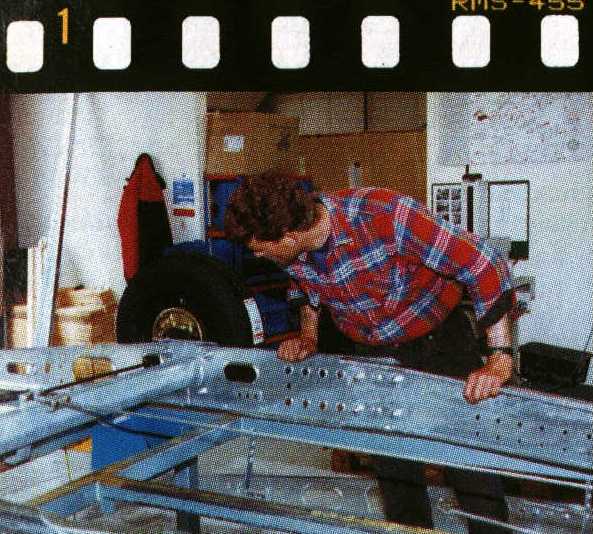
First task is to assemble the chassis. Work sometimes starts by bolting chassis sections to a floor panel, but many manufacturers now use Alko Kobers Vario chassis. This is adjustable to suit different models and here it's assembled indepently. |

|
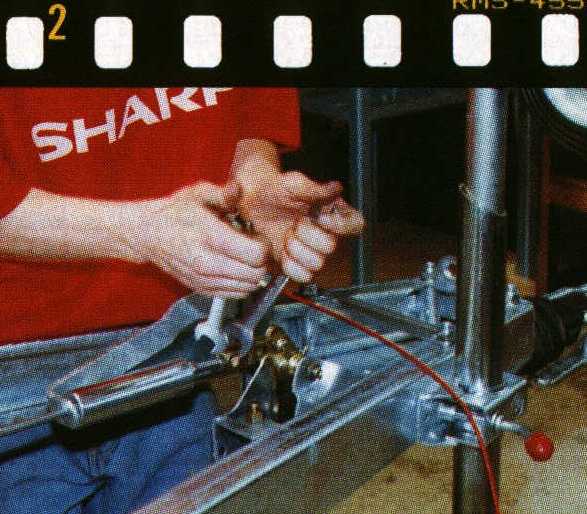
By assembling the chassis and running gear in an upside down position, it is especially easy to connect the overrun braking system and to make the initial adjustments. |

|
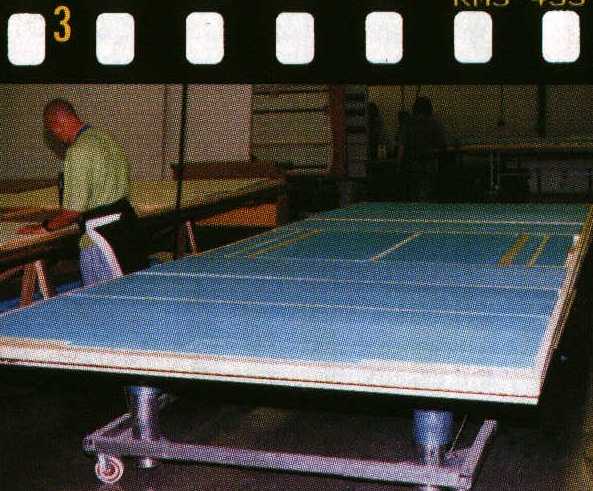
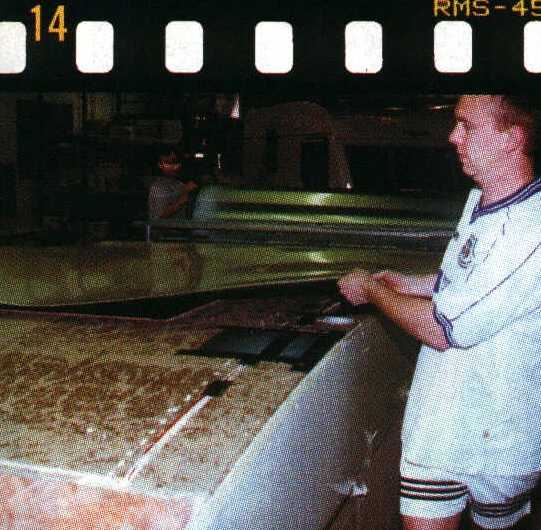
Meanwhile floor panels are being constructed using Styrofoam block insulation and a series of strengthening battens as a core, sandwiched between plywood sheets and bonded in a huge press. |

|
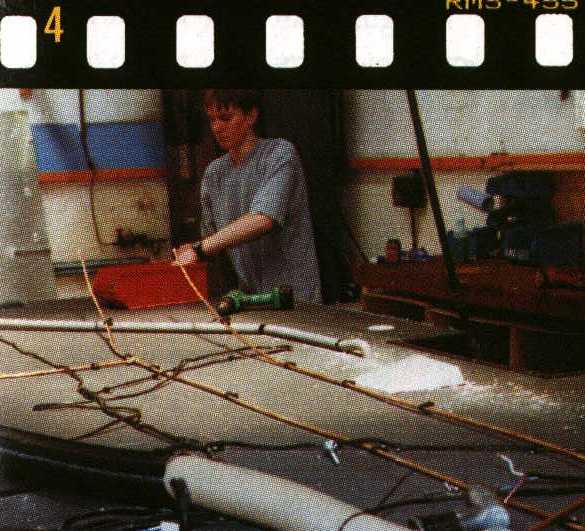
Once bonded, the floor panels are inverted on raised supports so that the under floor gas supply system, heating ducts, electric cables and water pipes can be installed. |

|
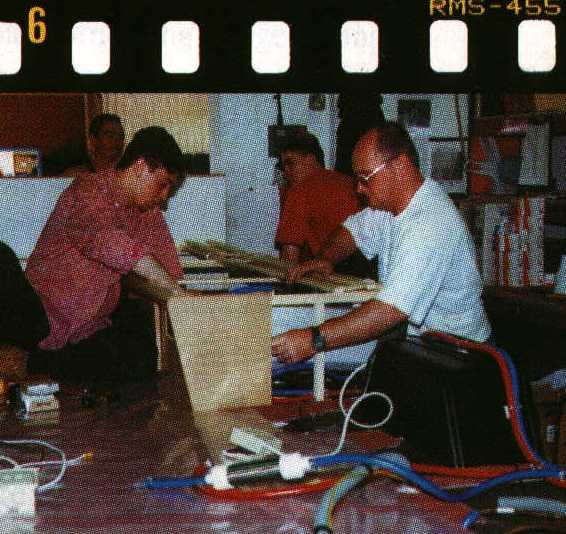
Having subsequently bolted the floor to the rolling chassis, service items like the battery box shown here and other appliances can be fastened down. At this stage, none of the external walls is fitted |

|
Without the restriction of walls, there's plenty of working space when fitting bed units to the floor. Water services which have been part pre-assembled and cut to length are similarly installed with the minimum of hindrance |

|
Furniture modules are constructed in a separate area. Jigs ensure that each unit is accurately replicated so that when it's brought to the production line, each section should f it without difficulty |

|
Meantime, side walls are being prepared. Construction commences on the internal plywood lining, with battens positioned around the apertures f or windows, doors and ventilator openings |

|
Polystyrene panels are cut to form the core layer in the wall sandwich. In this factory, the insulating material is cut to exact shape by a computer-controlled machine and then laid on the adhesive coated plywood |

|
Adhesive is applied to the core material, then pre-painted aluminium sheet, end the side walls bonded in a press. Window rubbers, fridge vents, cassette toilet doors and external lamp units are then fitted to the finished panels |

|
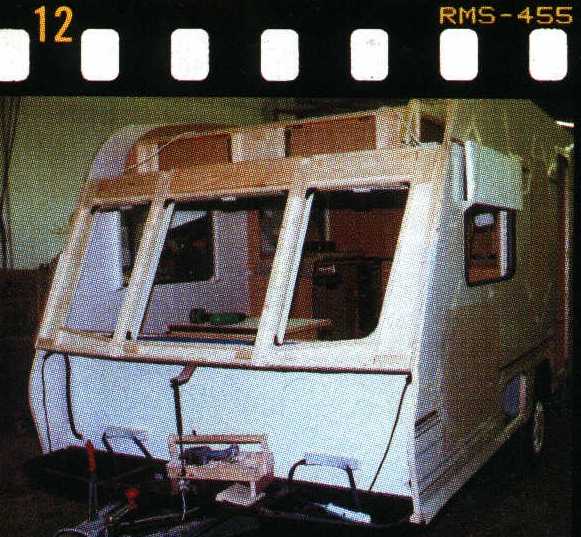
Only then are the walls fitted around the nearly completed interior. Front and rear walls are usually constructed differently from the sides, using timber framework as the base for supporting external moulded plastic panels |

|
In comparison with the sides, production of the forward end of a caravan is more labour-intensive. The large area of opening windows calls for sturdy bracing -as does a locker designed to carry heavy gas cylinders |

|
Flexible insulation is used to f it around the curved shapes that form part of the roof. Cables also have to be fitted in the void above the ceiling plywood and this is done from above rather than from inside the caravan |

|
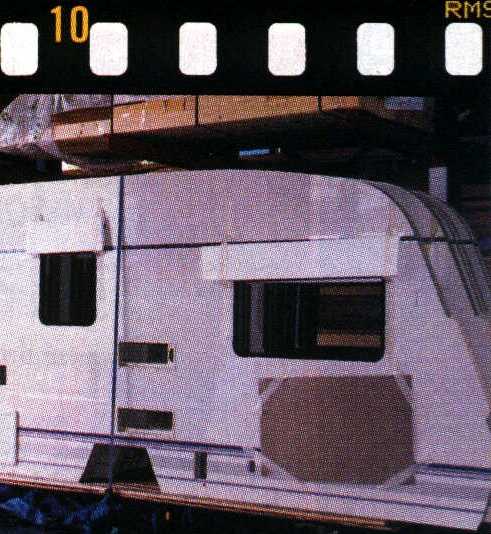
With the roof frame and insulation in-fill in place, aluminium is used to cover the entire top of the emerging caravan. Sheet metal pulled from a roll eliminates the need for joins |

|
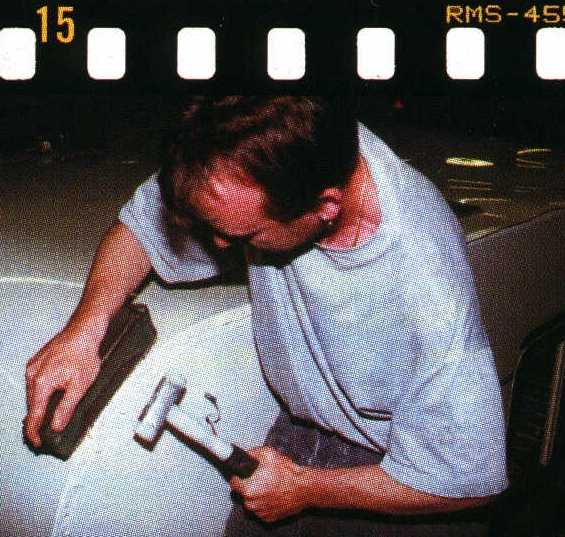
The roof sheeting is trimmed and a generous overlap is dressed over the side wall using a soft hammer and former. Ribbon sealant had been previously applied before the sides of the 'lid' were carried and folded over the edges |

|
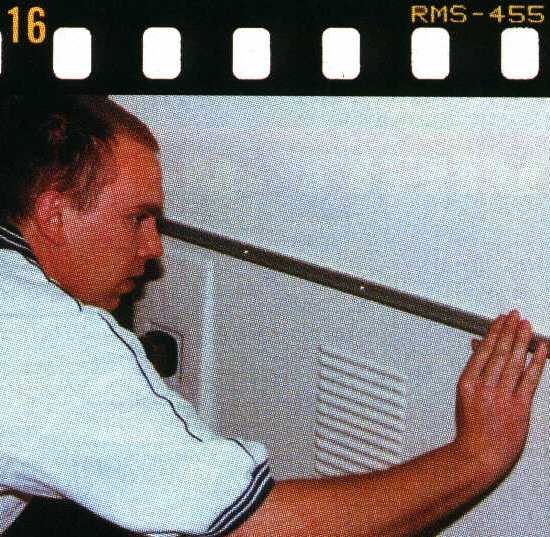
Throughout this final stage, both ribbon and gun-applied sealants are used to ensure that all overlaps are weatherproof. Then the junctions between panels are covered by aluminium trim strips which are bedded on mastic |